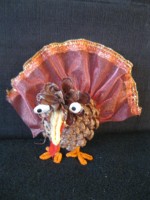
 This was good year for pine cones and they are everywhere. I could not resist doing something with them for Thanksgiving and what could be more appropriate than cone turkeys? They could be used as place card holders at the Thanksgiving dinner and then favors for guests, or in flower arrangements with fall leaves. They are easy to make and don’t require much in the way of materials especially since substitutions can easily be made.
The choice of the cone for the body sets the pattern for the whole project. Pine cones are best because you can generally find short plump ones that resemble turkey bodies. Pine cones come in a large variety of sizes; one that is 1-1 ½” long makes a nice place card holder while a large cone like one from long leaf pine could be a whole centerpiece. Once you have your cone for you body you can decide on something for the head. An acorn or another cone, considerably smaller than the body will work well. If the there are no small cones available cut a large one down to go with the size of the body.
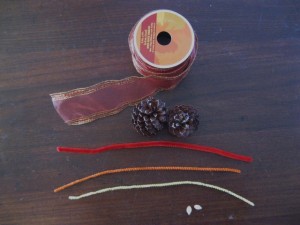
Here’s what I used for this turkey:
Materials:
 1 slash pine cone for the body (fattest part will be the breast)
 1 top of a slash pine cone for the head (small cone or acorn could be substituted)
 1 orange pipe cleaner for feet
 2” red pipe cleaners for wattle
 2” yellow pipe cleaner for beak
 2 squash or pumpkin seeds for eyes (lentils would work too)
 6” of 2” wide wired edged ribbon for tail (3 fall color leaves, head of Miscanthus grass, feathers, or more pipe cleaners etc. can be substituted).
Equipment:
Pruning shears, wire cutters or heavy duty scissors if cone needs to be cut for head.
Glue gun and glue stick (but craft glue or any white glue would work)
Black felt tip marker like a Sharpie
Procedure:
1. If you need to cut a head from one of the cones do so with very hefty shears. Pine cones can be very tough. Use the smaller, top most, part of the cone for the head.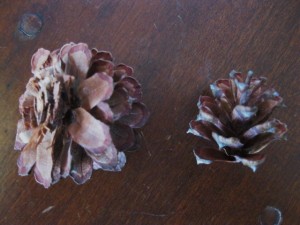
2. Wrap orange pipe cleaner around the thinner end of the larger whole pine cone, fitting it though the scales, making sure that the two ends are equal in length when they emerge from the cone. Twist the two ends together so that they are joined but make sure the twist is hidden by the scales.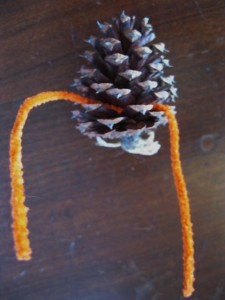
3. Form a foot with each pipe cleaner by bending it into toes.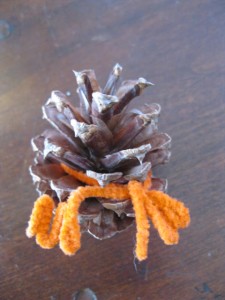
4. Form a beak out of about 1 ½” of yellow pipe cleane and a wattle out of a 1″ piece of red pipe cleaner.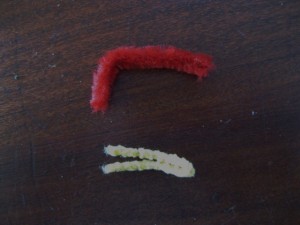
5. Glue beak with wattle under it to head pine cone.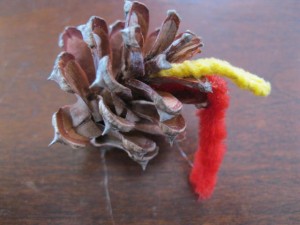
6. With a felt tip pen make black dots on each seed to look like pupils.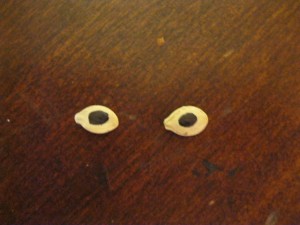
7. Glue the eyes on small “head” pine cone.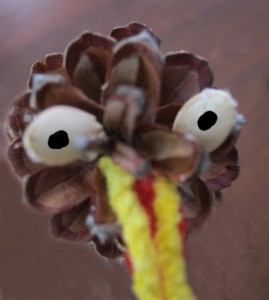
8. Glue the head onto the bottom (larger end) of the body pine cone.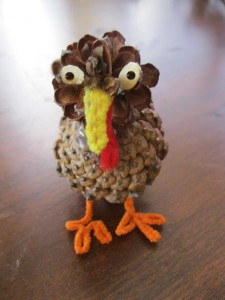
9. Cut a 6” piece of wired ribbon and pull the wire on one side so that the ribbon gathers. Be sure to hold on to both ends of the wire as you do this so the wire does not slide through the whole ribbon.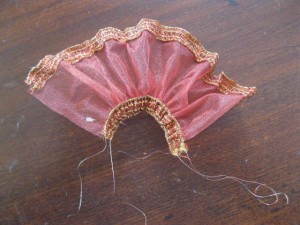
10. Place the gathered ribbon on the hind portion of the body and wrap the ends of the wire around the cone to form the tail feathers.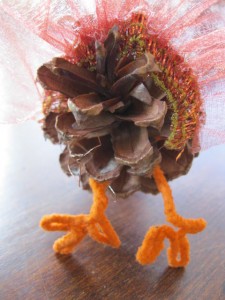
Here’s the turkey with a ribbon tail: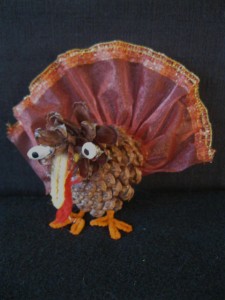
12. As an alternative tail, take three or more fall leaves, real or artificial, glue them together and insert between cones, securing with a dab of hot glue.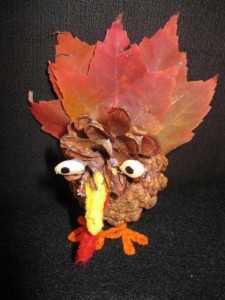
13. Or, use the heads of grass as a tail by bundling it up and gluing it in between the scales.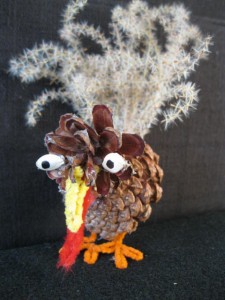
Many variations are possible and its fun to try new ones as they occur to you. I especially like being able to change the tail color and material to go with the other decorations. This is a fun, versatile project.

